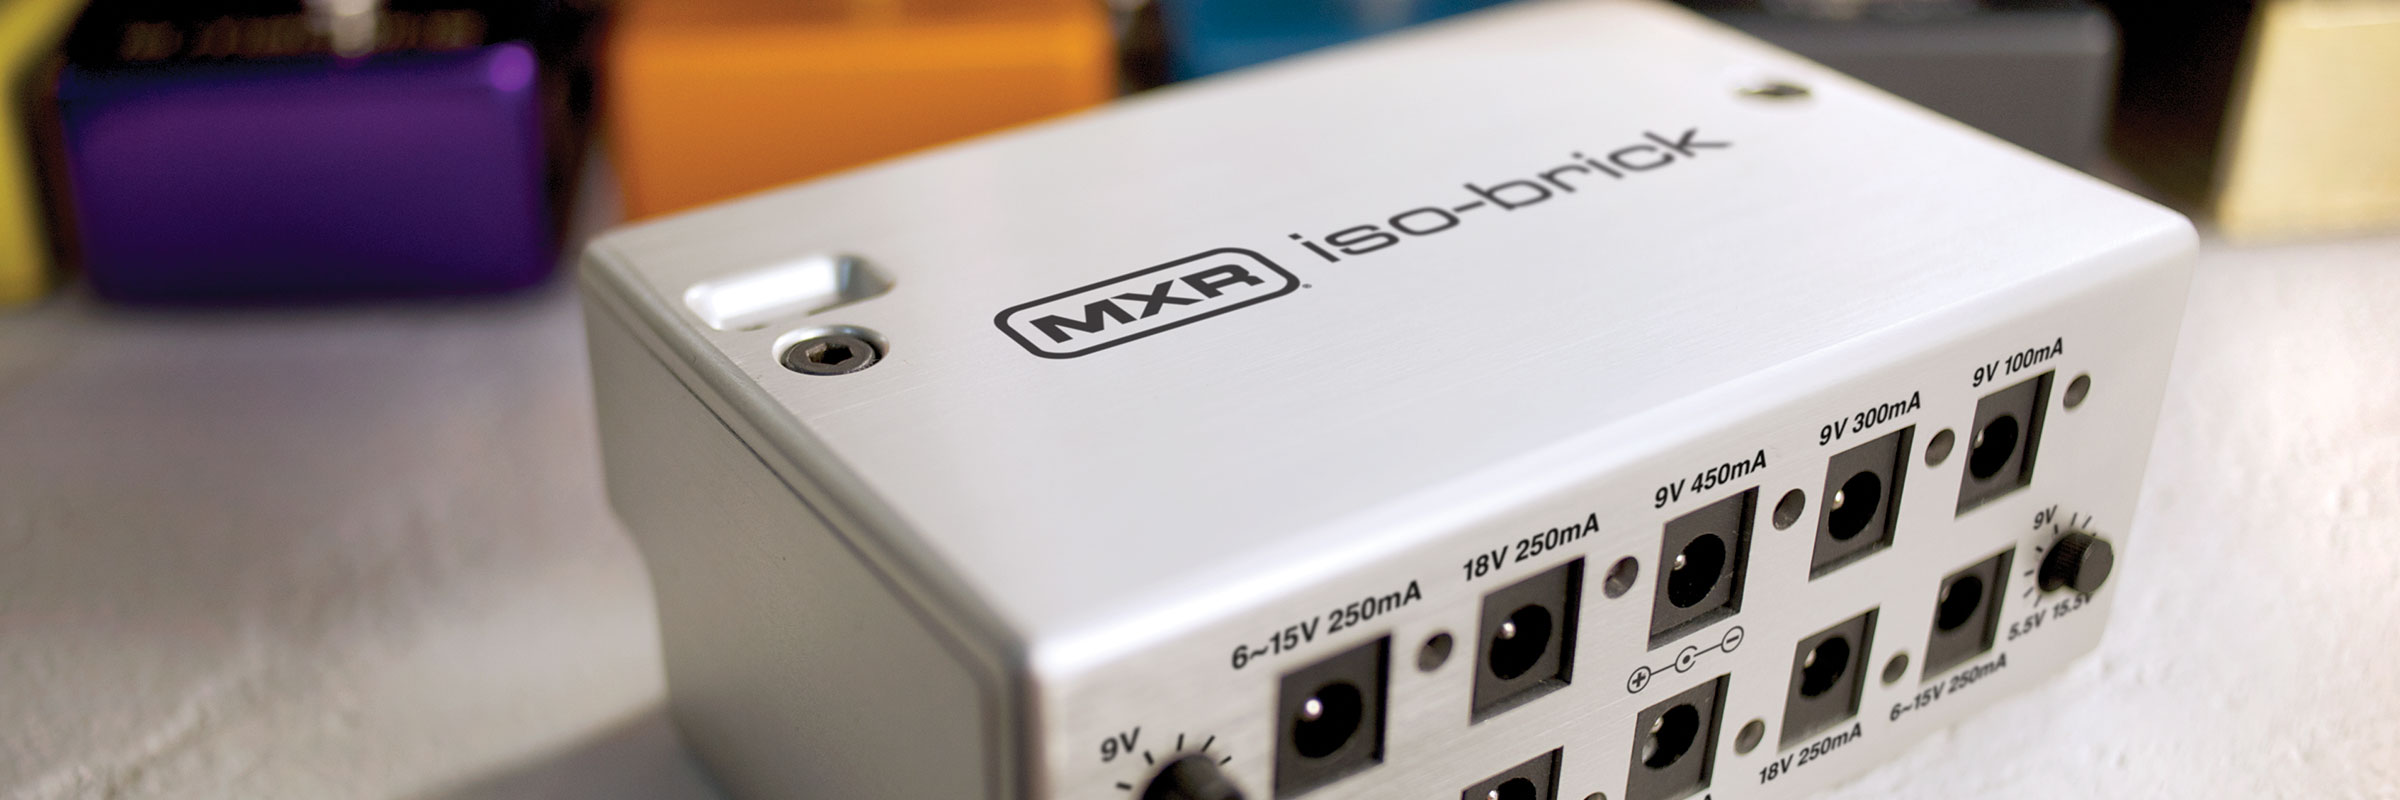
The M238 MXR® Iso-Brick Power Supply is designed for the demands of the stage and the rigors of the road. With ten fully isolated outputs and a lightweight, pedalboard-friendly housing that’s built like a tank, this potent piece of hardware will keep your pedals running with quiet, consistent power gig after gig.
Why does having isolated outputs make a difference? We asked the MXR design team to explain that and more, including several questions on how to get the most out of this wonderful power box. Get inside the Iso-Brick Power Supply below.
What are the advantages of fully isolated outputs?
When power outputs are fully isolated, there is no common electrical connection between them. This provides ground isolation between power sources, eliminating noisy ground loops and making high gain signal chains quieter. It also prevents one pedal from corrupting the power supply of the other pedals if something goes haywire.
Basically, having isolated outputs is like powering all of your pedals with high quality batteries.
Is there anything else in the M238’s design that helps to reduce noise?
Yes—aside from isolating the outputs from each other, we’ve ensured that each fixed voltage output receives a stable, low-noise voltage source by using linear regulators. The variable outputs are regulated by a hybrid design consisting of an adjustable buck regulator and two LC filters—which block switching noise—to simulate the smooth output of an adjustable linear regulator. This was done to minimize heat and power loss in the circuitry while preserving the output characteristics of an adjustable linear power source.
How do fully isolated outputs provide more protection to pedals than non-isolated outputs?
If pedals are powered from just one source—that is, if they aren’t isolated—they can potentially suffer damage if one of the effects experiences an overload or other voltage problem. With an isolated output, that potential damage source is kept from the rest of your pedals.
Is there anything in the design to prevent overheating?
We built in thermal protection for each output, so the M238 will automatically turn itself off if it reaches unsafe operating temperatures. The outputs are also protected against short circuiting via foldback current limiting.
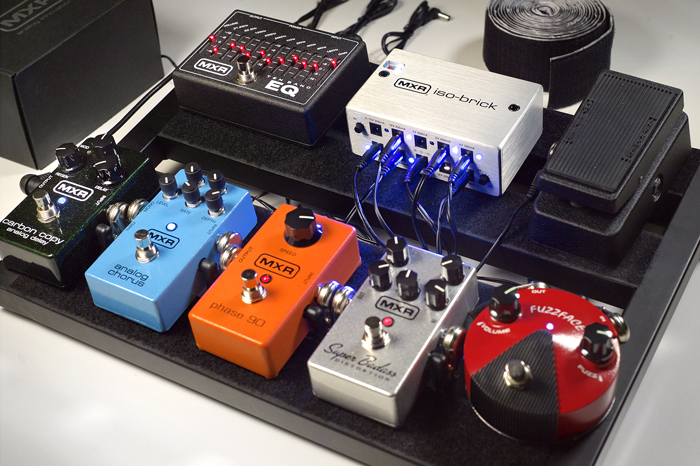
Which types of pedals can be used with the Iso-Brick Power Supply?
You can use almost any pedal—digital or analog, positive or negative barrel—as long as it takes DC power and meets the voltage and current requirements of the M238’s outputs.
How can players make sure they’re matching pedals and outputs correctly?
It all depends on the voltage and current requirements of your pedals, and you need to know both before you ever connect a pedal to a power source. Digital pedals require more current—measured in milliamps (mA)—than analog pedals, so keep that in mind when allocating your outputs between the two types.
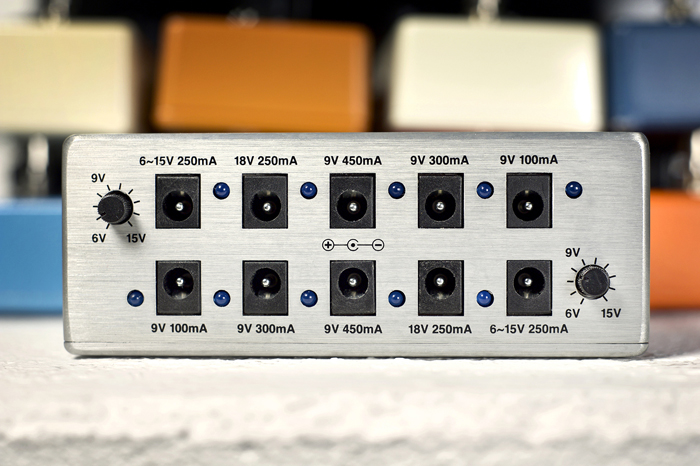
The M238 has six 9V outputs: two at 100mA, two at 300mA, and two at 450mA. The 100mA outputs have more than enough current—by far—for pretty much any 9V analog pedal, but many 9V digital pedals require more current. In that case, the 300mA and 450mA outputs will be more than enough for most digital pedals. If you’re only using analog pedals, it doesn’t really matter which output you use as long as the voltage matches.
The two 18V outputs and the two variable 6V–15V outputs adjustable are rated at 250mA, which is still enough juice for most digital pedals. The vast majority of digital pedals are designed to run on 9V power, however, so you’re likely to use the 18V outputs for analog pedals. If you have odd voltage requirements—up to 15V—or you want to “sag” a 9V analog pedal, then use the variable outputs.
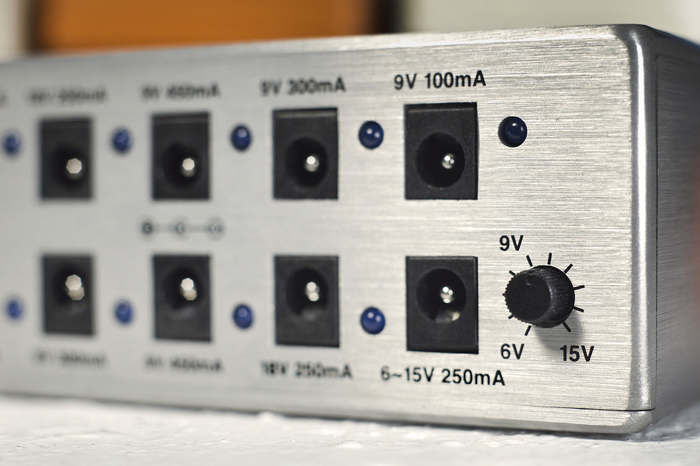
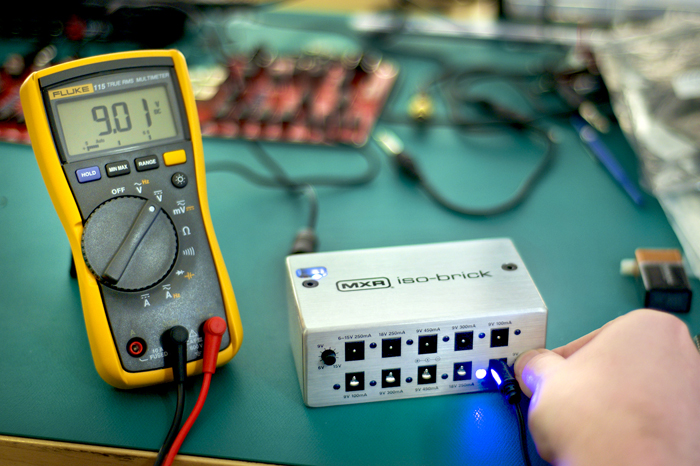
How can I make sure the variable outputs are set to the right voltage?
The easiest way is to measure at the end of a connector cable with a multimeter. First, make sure the power supply itself is plugged in, and then plug one of the connector cables into one of the variable outputs. Set your multimeter to measure DCV; if yours doesn’t automatically detect voltage, select the 20 DCV setting. Set the voltage control about where you want it.
Next, use one of your multimeter’s probes to touch the inside center of the plug’s barrel, and use the other probe to touch the outside of the barrel. Your multimeter will then display the output’s voltage. Use the variable control to adjust as needed. Note: whether the number shown on the multimeter’s screen is positive or negative depends on which probe touched which part of the barrel, but that doesn’t matter for our purposes. The value will be accurate either way.
What is voltage “sag”? Which pedals can be “sagged” below 9 volts, safely and with good results?
“Sag” refers to the effect of a dying 9V battery. As batteries get used up, their voltage level goes down, and this changes the sound of certain 9V analog pedals. This effect is called voltage sag, and a lot of guitar players back in the day loved it so much that they would purposely use dying batteries to get it.
The variable outputs allow you to achieve the same effect without the hassle of managing a constant supply of under-powered batteries. Overdrives, distortions, fuzzes, and wahs tend to benefit the most from voltage sag, but you won’t hurt your pedal by under-powering. Feel free to experiment.
Can the M238’s outputs be combined?
Any output may be combined with any other when stacked in series. When combining outputs in parallel, however, you need to make sure that the outputs match each other in voltage.
Are there any features to help players troubleshoot problems?
Yes—the M238 has LEDs to indicate a good or bad connection on both the input and each of the outputs, which allows you to quickly identify the source of a problem.
What precautions should players take when using any type of power supply?
First and foremost, make sure the voltage and current specs of your pedals are compatible with the voltage and current specs of your power supply’s outputs. Ignore this information at the peril of both your pedals and your power supply.
As a general rule, don’t give your pedal too much voltage—for example, by plugging a 9V pedal into an 18V output—and don’t force an output to give up more current than it can handle—for example, by plugging a pedal that draws 250mA into an output that only has 100mA on tap.